
Your presence here shows that What is a Rip Cut on a Table Saw?
Well!
You’re on right place because we already have worked here . When it comes to woodworking, using a table saw is a fundamental skill that every woodworker must master. Among the various cuts you can make on a table saw, the rip cut is one of the most common and important.
In this comprehensive guide, we will explore what a rip cut is, why it’s crucial, how to perform it safely, and the different tools and techniques involved.
Understanding Rip Cuts
Defining a Rip Cut
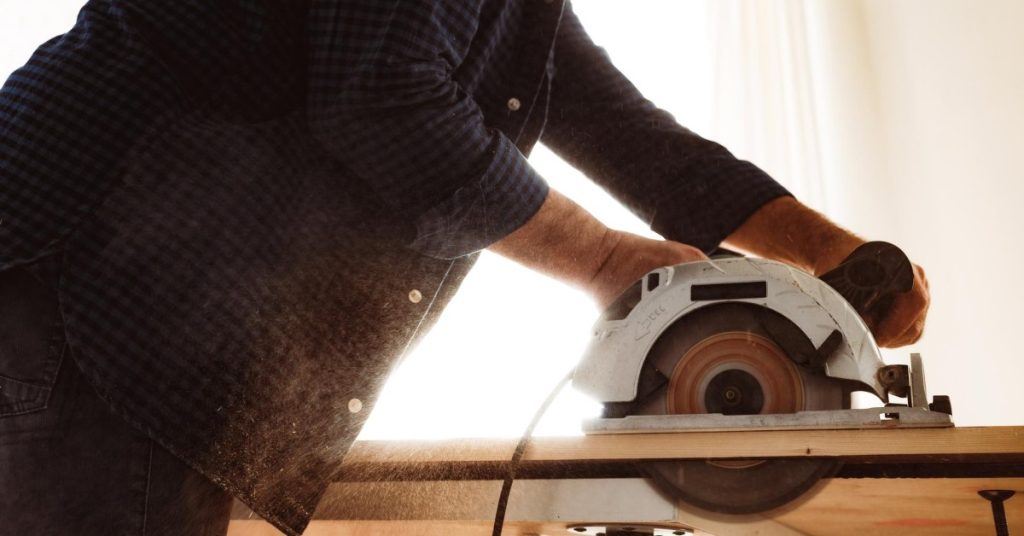
A rip cut is a woodworking term that refers to cutting a piece of wood lengthwise along its grain. This means you are cutting a board in the same direction as the wood fibers run. The goal is to create strips or planks of a desired width. Rip cuts are widely used in various woodworking projects, from building furniture to constructing cabinets and shelving.
Why Rip Cuts Matter
Rip cuts are essential for several reasons:
- Dimensional Lumber: When you purchase lumber from a store, it often comes in standard dimensions. To fit your specific project, you need to cut the lumber to the required width, which is typically done with rip cuts.
- Creating Joints: In woodworking, joining two or more pieces of wood together often requires matching their widths. Rip cuts are essential for creating clean, precise joints that ensure a stable and sturdy connection.
- Efficiency: Precise rip cuts save material and reduce waste. This not only makes your projects more cost-effective but also environmentally friendly.
The Tools for Rip Cuts
Before we delve into the process of making a rip cut, let’s talk about the essential tools you’ll need:
- Table Saw: The centerpiece of the operation is the table saw itself. It consists of a flat table with a circular blade protruding through its surface. The blade can be adjusted to the desired height and angle.
- Rip Fence: This is a guide that helps you maintain a straight and consistent cutting line. It runs parallel to the blade and can be adjusted according to the desired width of the rip cut.
- Push Stick: To ensure your safety, always use a push stick to guide the wood through the saw. This keeps your hands at a safe distance from the blade.
- Safety Gear: Wear appropriate safety gear, including safety glasses, hearing protection, and dust protection.
Performing a Rip Cut
Now, let’s walk through the process of making a rip cut on a table saw:
- Safety First: Before starting any operation, ensure your table saw is properly maintained and that all safety mechanisms are functional. This includes the blade guard and riving knife.
- Measurement and Marking: Measure the width you want for your rip cut and mark it on the piece of wood. Use a square to create a straight line perpendicular to the edge you plan to cut.
- Adjust the Rip Fence: Set the rip fence to the desired width by loosening the lock and sliding it to the marked position. Make sure it’s parallel to the blade and locked securely in place.
- Position the Wood: Place your marked piece of wood on the table saw with the edge you marked facing the rip fence. Ensure the wood is flat against the table.
- Safety Gear and Push Stick: Put on your safety gear, and hold the wood with one hand while using a push stick with the other. The push stick should be used to guide the wood through the saw, keeping your hands safely away from the blade.
- Start the Saw: Turn on the table saw and allow the blade to reach full speed before making the cut.
- Making the Cut: Slowly and steadily push the wood through the blade, keeping it firmly against the rip fence. Make sure the wood does not twist or bind as it passes through the blade.
- After the Cut: Once the cut is complete, turn off the saw and wait for the blade to come to a complete stop before moving the wood.
- Inspect the Cut: Check the cut for smoothness and accuracy. If any adjustments are needed, make them before proceeding with your project.
Tips for Safe Rip Cutting
- Always follow the manufacturer’s instructions for your specific table saw model.
- Keep your work area clean and free of debris, which can cause accidents.
- Never reach over the spinning blade or make rip cuts with your hands too close to the blade.
- Use a splitter or riving knife to prevent kickback during the cut.
- Avoid making rip cuts on warped or twisted wood as it can be dangerous and result in an uneven cut.
Conclusion – What is a Rip Cut on a Table Saw?
In conclusion, understanding what a rip cut is and how to perform it safely is crucial for any woodworker.
This fundamental woodworking skill opens up a world of possibilities for creating custom furniture, cabinetry, and various other projects.
Remember to prioritize safety, use the right tools, and practice the techniques mentioned here to achieve accurate and efficient rip cuts on your table saw.
Whether you’re a novice or a seasoned woodworker, mastering rip cuts will significantly enhance your woodworking capabilities.